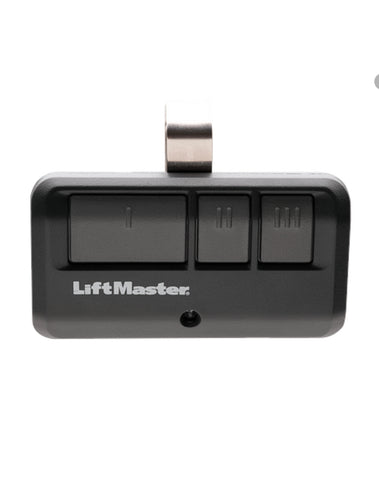
How To Change The Battery In Your Liftmaster Remote

Liftmaster Remote Battery Model 2032
Upgrade Your Garage Door Experience with a Liftmaster Remote: A hassle-free solution for effortlessly opening and closing your garage door without stepping out of your car. Just like any battery-powered device, the Liftmaster garage door remote may need a new battery occasionally to ensure smooth operation. Fortunately, replacing the battery is a quick and easy DIY process that you can do at home, requiring no special tools or expertise. Follow our step-by-step guide to effortlessly swap out the battery in your Liftmaster garage door remote and keep it functioning optimally.
Determine the Type of Battery Your Garage Door Opener Remote Uses
Start by identifying the specific battery type your remote requires. Most Liftmaster garage door remotes are powered by a 3-volt lithium battery, commonly referred to as a coin cell battery. Discover the correct battery for your remote by consulting the user manual or simply open the battery compartment and inspect the existing battery.
Purchase a Replacement Battery
After identifying the required battery type, proceed to acquire a replacement battery. Conveniently find suitable replacement batteries at your local hardware stores or through online retailers. Ensure the seamless functioning of your remote by selecting the precise battery type needed for your Liftmaster garage door remote.
Open the Battery Compartment
Identify the small notch situated at the bottom of your remote. Utilize a flat object like a screwdriver or coin to delicately pry open the cover. Exercise caution to avoid excessive force, as it may lead to damage to your remote.
Remove the Old Battery
After unlocking the battery compartment, use your finger or a small tool to extract the old battery from your Liftmaster garage door remote. Exercise caution to avoid touching the metal contacts inside the battery compartment, as this can potentially damage the remote or the new battery.
Insert the New Battery
Introduce the new battery into the battery compartment, ensuring that the positive (+) side faces upward. Confirm that the battery is securely positioned, with its metal contacts making contact with the corresponding metal contacts inside the battery compartment.
Close the Battery Compartment
After inserting the new battery, seal the battery compartment by firmly pressing the cover until you hear a distinct click. Verify that the cover is securely in place, ensuring there are no gaps or openings that could permit dust or moisture to enter the remote.
Test the Remote
Finally, test the remote by pressing the button to open or close your garage door. If the remote does not work, double-check that the battery is inserted correctly and that the battery contacts are making good contact with the metal contacts inside the battery compartment.
If you are still facing issues changing the battery in your Liftmaster garage door remote, don’t hesitate to contact Lynoka or Call us 857-209-6904 today for a free estimate. Our team of experts can help diagnose and fix any problems with your remote and ensure that it is working properly.
